
The easiest time to clean it is right after you use it.
The Blade You Should Never Reach For
How to clean a blender safely, and why the order matters.
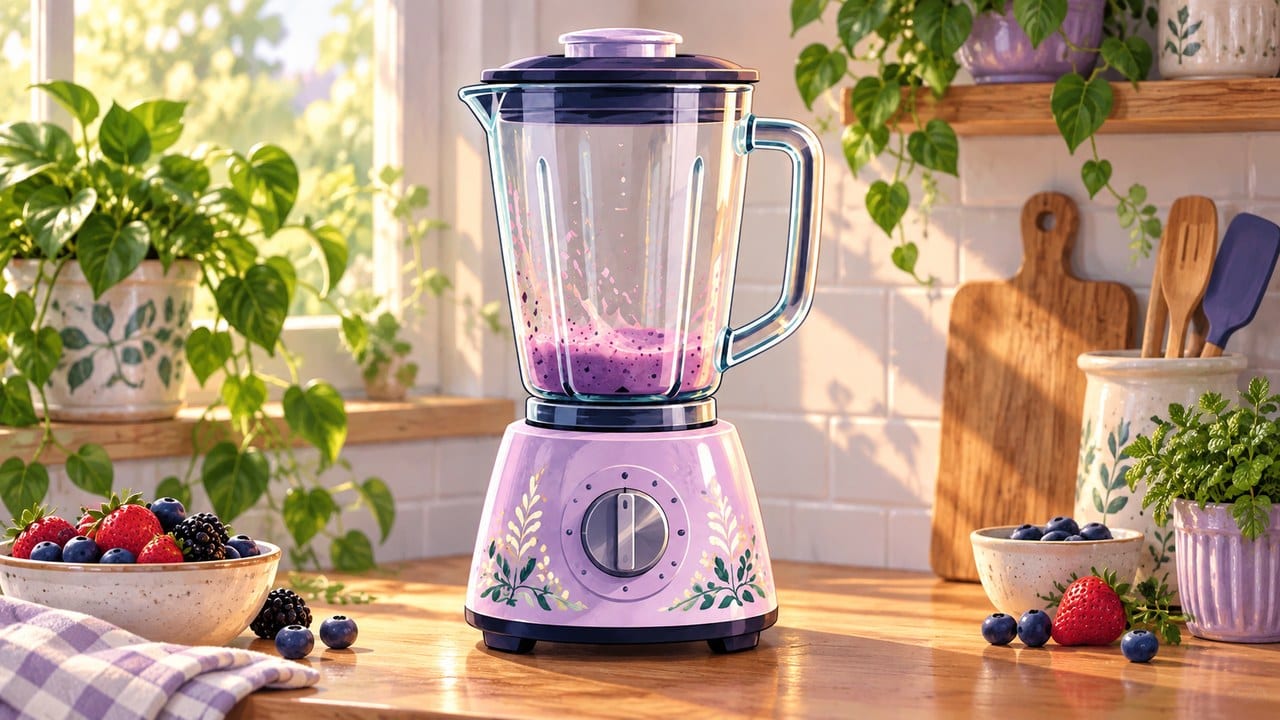
A blender is one of the most useful tools in a kitchen, and one of the quickest to turn into a chore. The jar goes in the sink, the smoothie dries on the blades, and by the next day it feels like a bigger job than it really is.
It doesn't have to be. A blender can do most of its own cleaning. You just need to know how, and you need to know the one thing never to do.
Rinse it right away
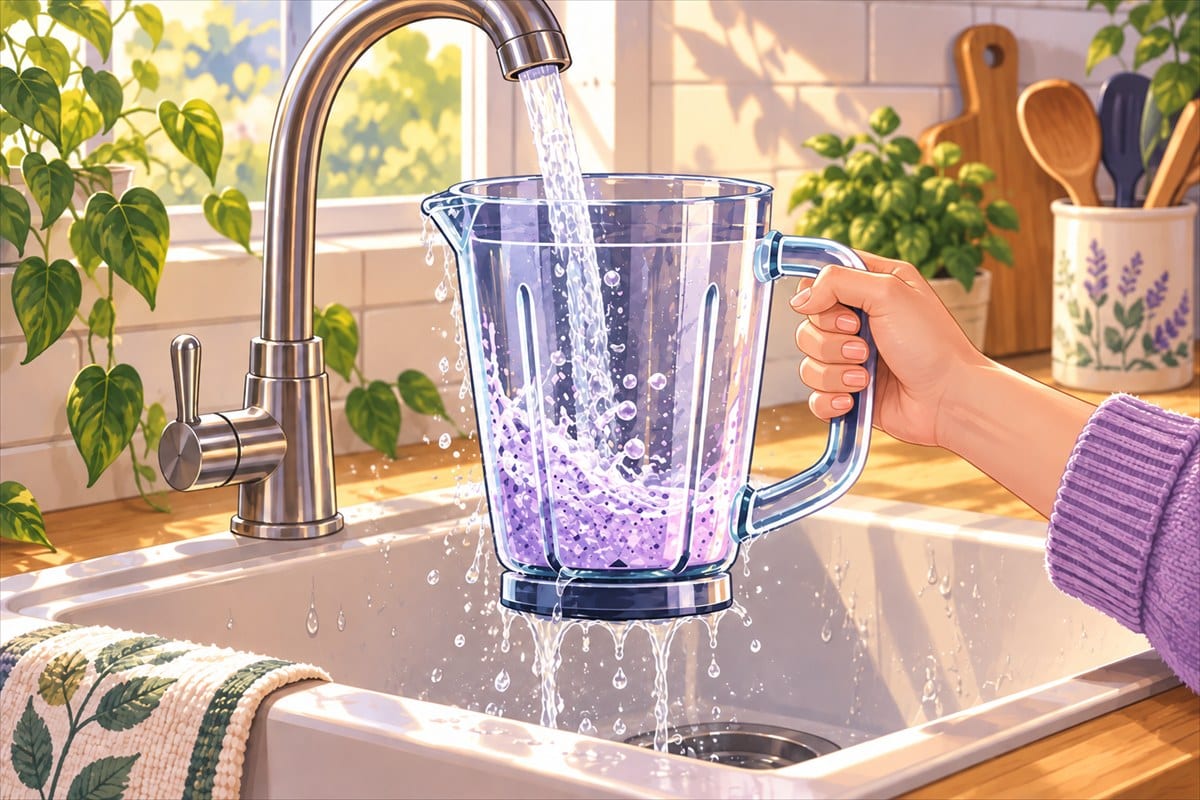
As soon as you pour out what you made, rinse the jar with warm water. It only takes a few seconds.
Food dries fast, especially on the blades and in the corners of the jar. Wet food rinses away. Dried food has to be scrubbed. A quick rinse now saves you real effort later.
If you can't rinse it right away, that's okay. Fill it with a little warm water and let it sit until you can.
Let the blender scrub itself
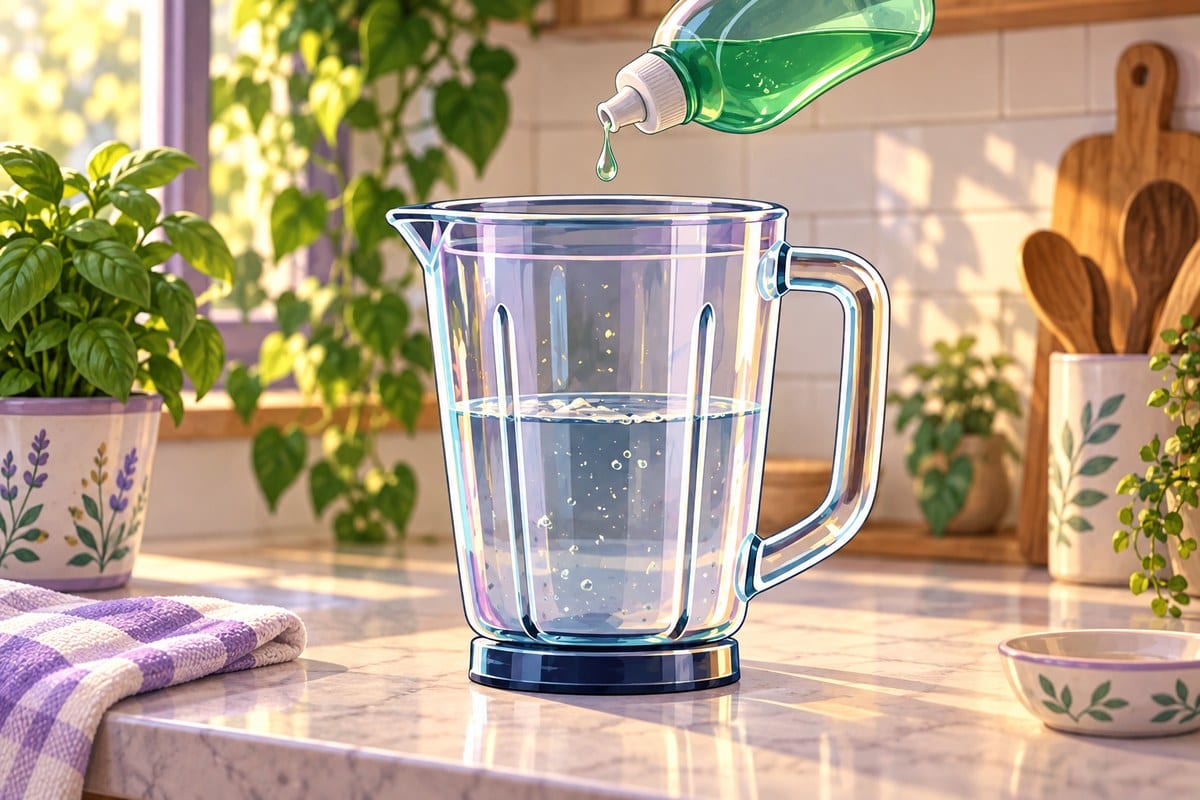
Fill the jar about halfway with warm water. Add a small drop of dish soap. Put the lid on tight, then blend for about 30 seconds.
Use warm water, not boiling. Very hot liquid can build pressure inside the jar and push the lid off.
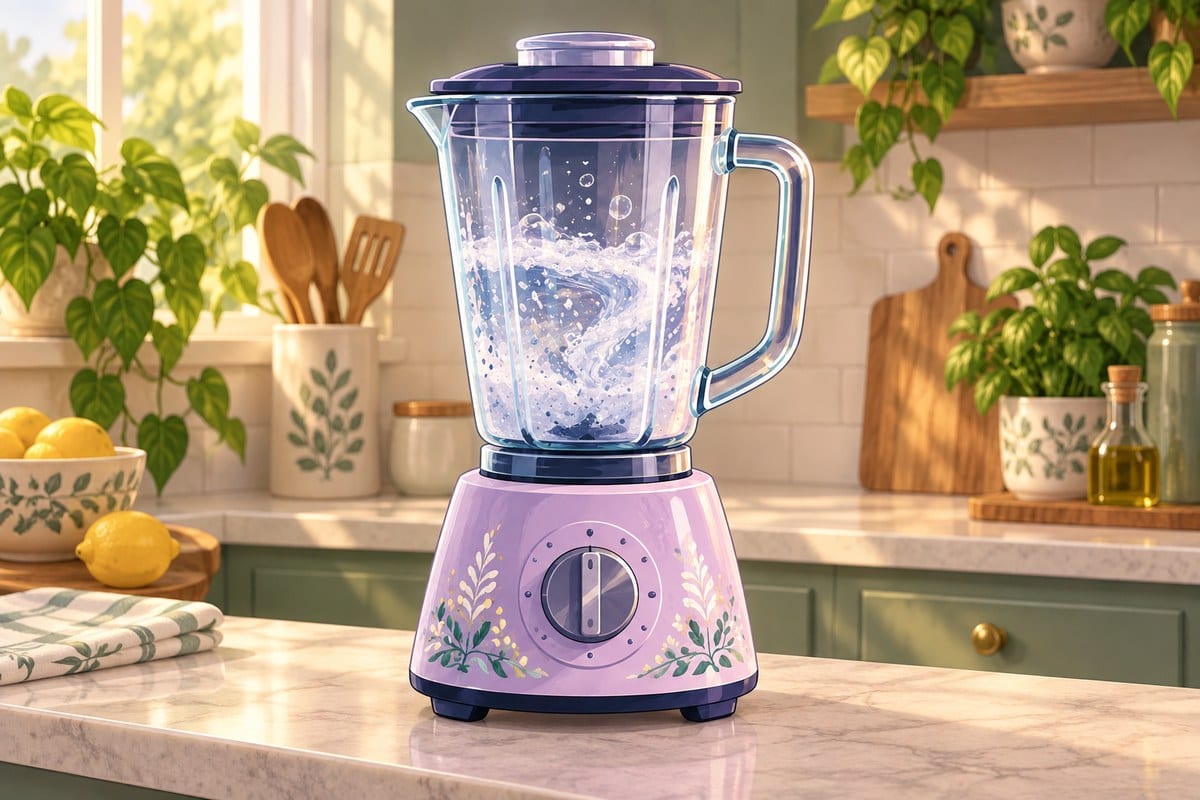
The spinning blades send soapy water into every corner and under the blades themselves. It reaches the places your hands shouldn't.
Rinse and check
Pour out the soapy water and rinse the jar well. Hold it up to the light and look at the blades and the bottom corners.
If it looks clean, you're nearly done. If food is still stuck, run the soap-and-water blend one more time.
Never reach in with your fingers
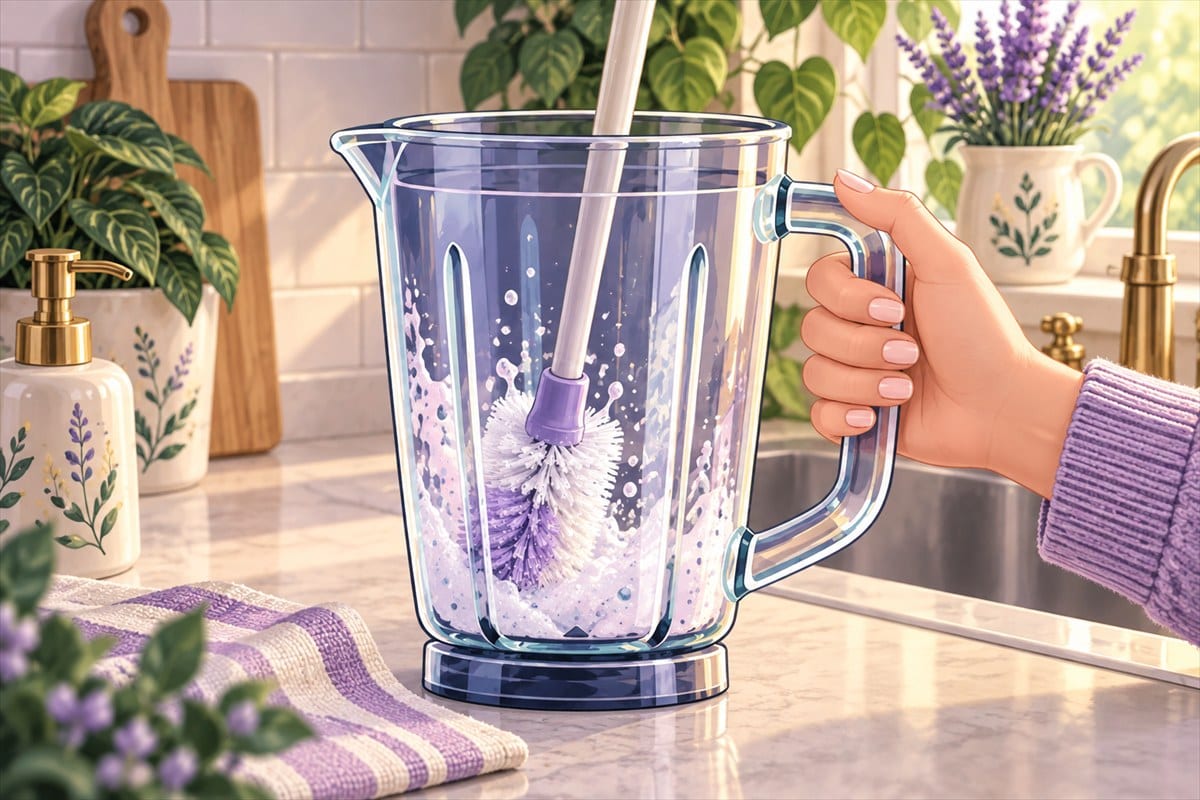
This is the most important rule. If something is still stuck, use a long-handled brush, not your hand. Keep your fingers out of the jar completely.
Blender blades are very sharp, and they sit low where you can't fully see them. A sponge can slip. A finger can catch an edge. The brush keeps a safe distance between you and the blade.
Clean the base safely
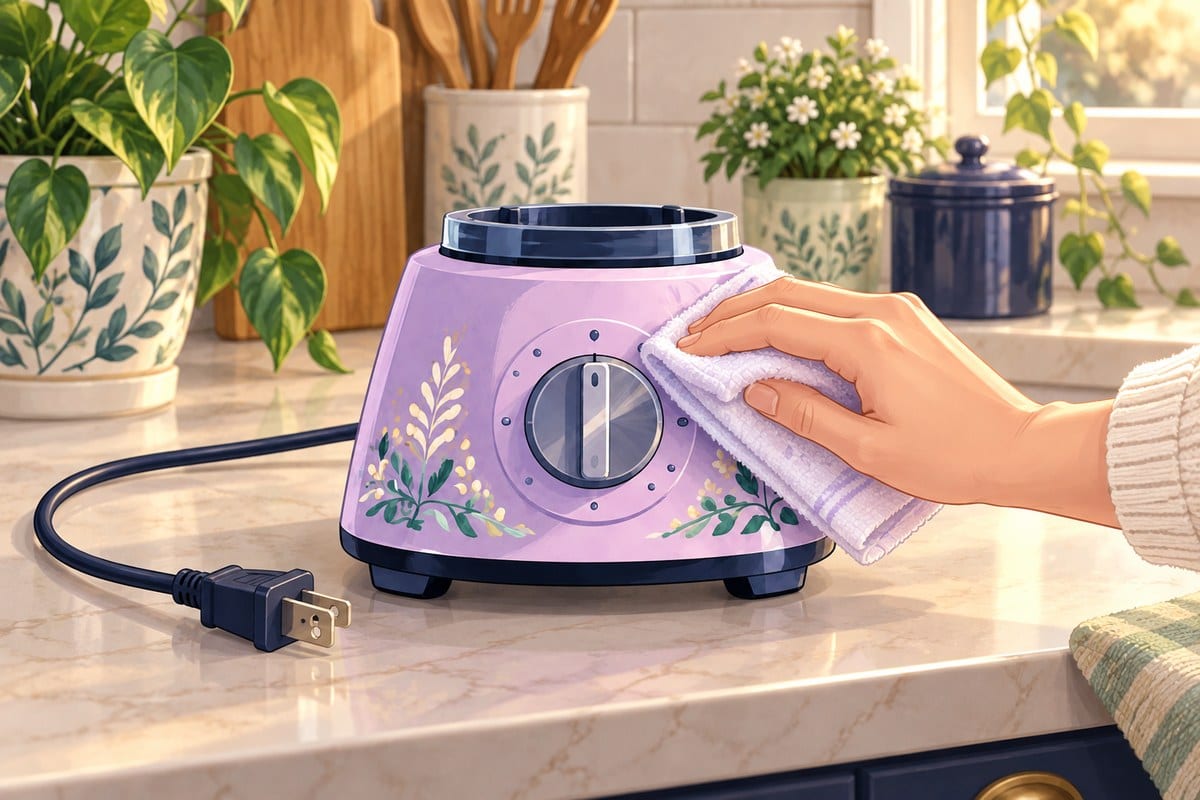
Unplug the base first. Then wipe it with a damp cloth, barely wet. Wipe the buttons and the spot where the jar sits, where drips collect.
Never put the base in water or hold it under the faucet.
The base holds the motor and the wiring. Water and electricity don't belong together.
Check the hidden ring
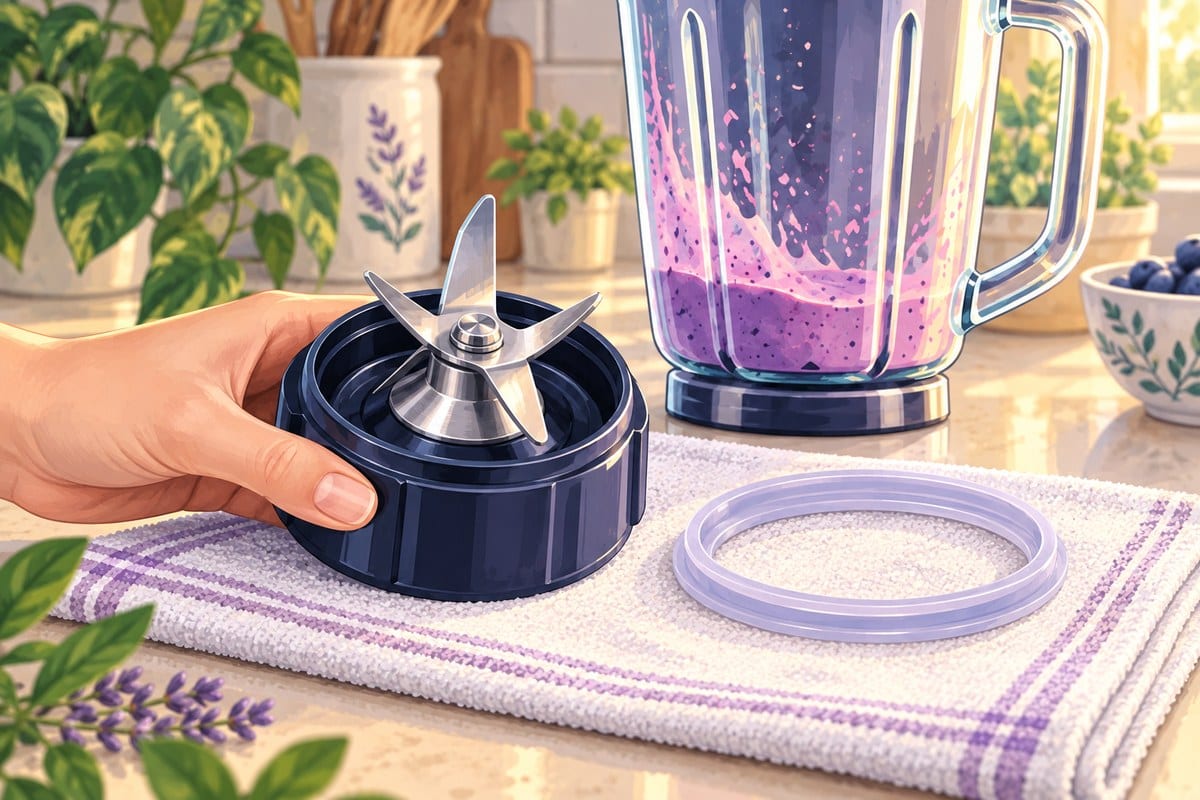
Some blenders have a blade piece that twists off the bottom of the jar. If yours does, take it apart. Inside is a small rubber ring. Food and smells love to hide there.
Wash the ring and the blade piece in warm, soapy water. Hold the blade piece by its base, never by the blades.
A blender can look clean and still smell sour. That smell usually comes from the ring. Cleaning it now and then keeps your next smoothie tasting fresh.
Let it dry
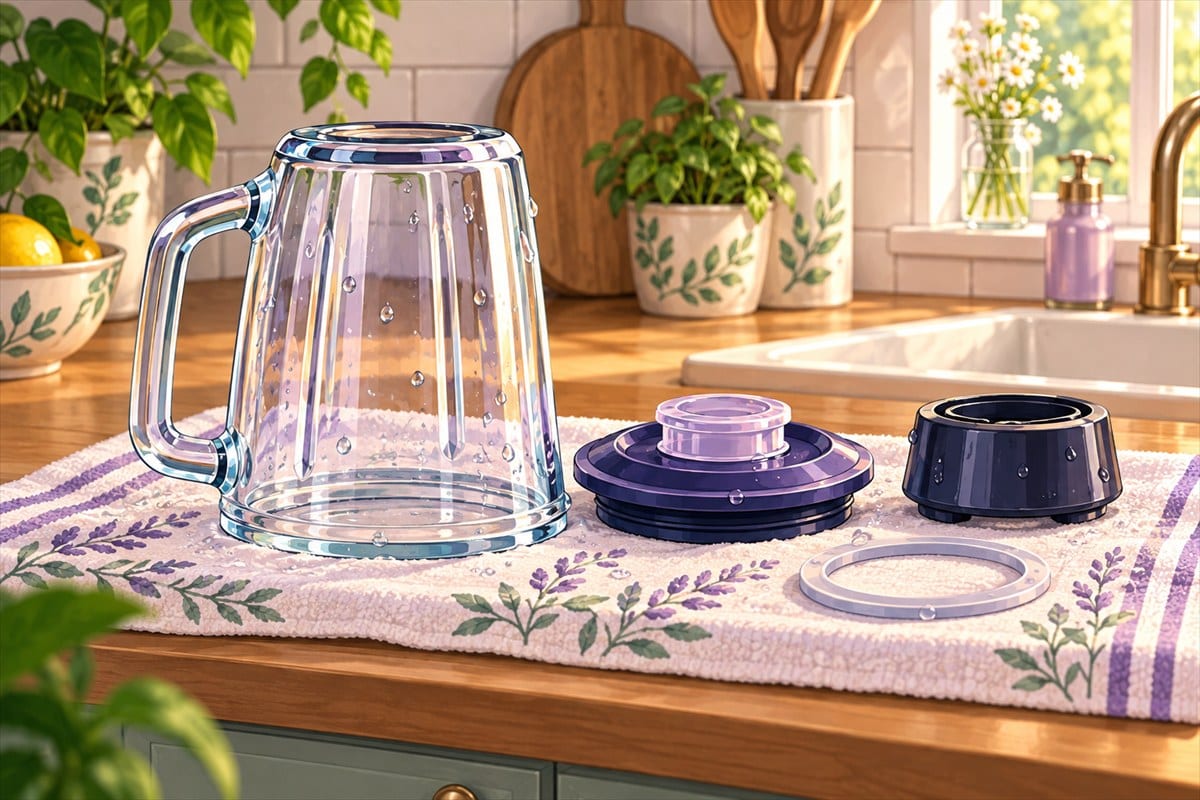
Let every part dry completely before you put the blender back together. Then set the jar back on the base.
Trapped moisture can turn musty, especially around that rubber ring.
If today is a low-energy day
Just fill the jar with warm water and let it sit. That's enough for now. The food won't dry on, and the rest can wait.
The larger lesson
A blender teaches a simple truth: the easiest time to clean something is right after you use it. It also teaches that the right tool matters. Some jobs are safer for a brush than for a hand.
Thirty seconds of blending. One quick rinse. A tool that's ready the next time you need it.