
Nothing is on fire. It's old food.
Why Your Coil Stove Smells Like Last Week's Dinner
A layer-by-layer way to clean an electric coil stove.
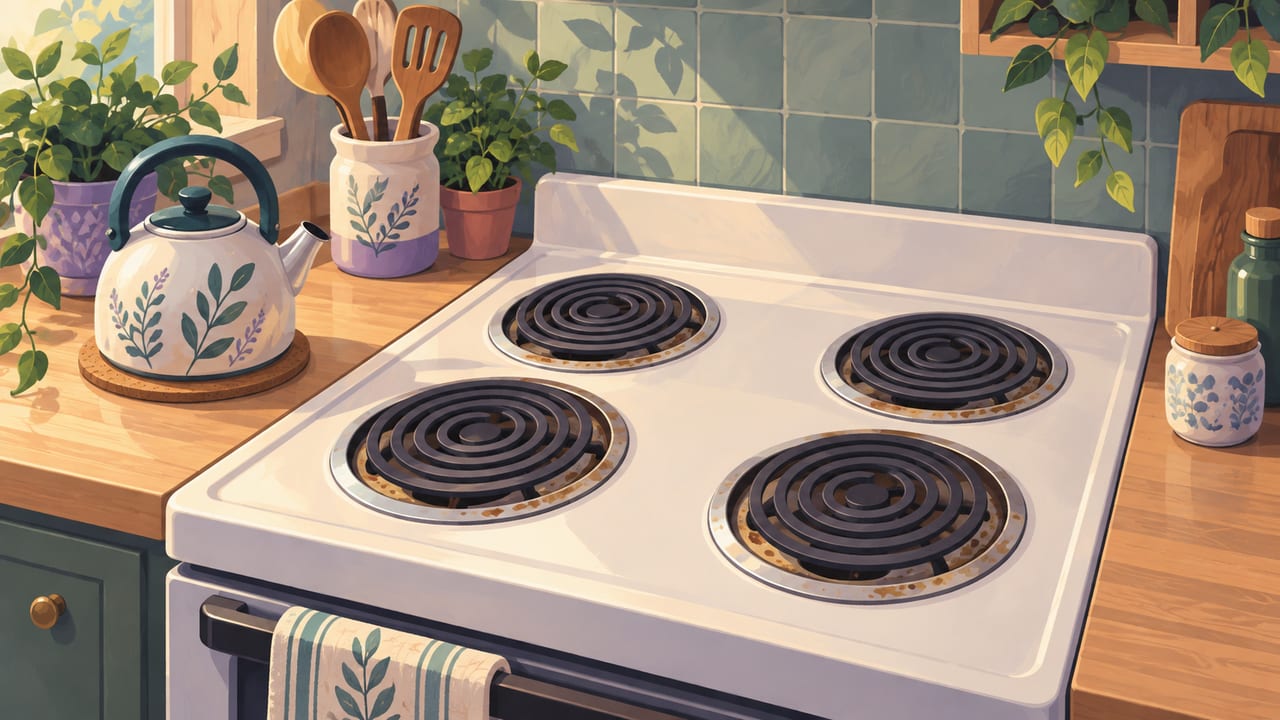
You turn on a burner to boil some water, and a minute later you smell it. A faint, burnt, slightly smoky smell. Nothing is on fire. It's old food.
On a coil stove, spills don't stay where they land. They drip down past the coil and settle in the metal bowl underneath. Every time that burner heats up, those drips cook a little more. After a few weeks, you're smelling last Tuesday's spaghetti sauce every time you make tea.
The fix is simpler than it looks. A coil stove is built in layers, and each layer comes apart from the one below it. Clean them one at a time, from the top down, and the smell goes away with the mess.
Before you start
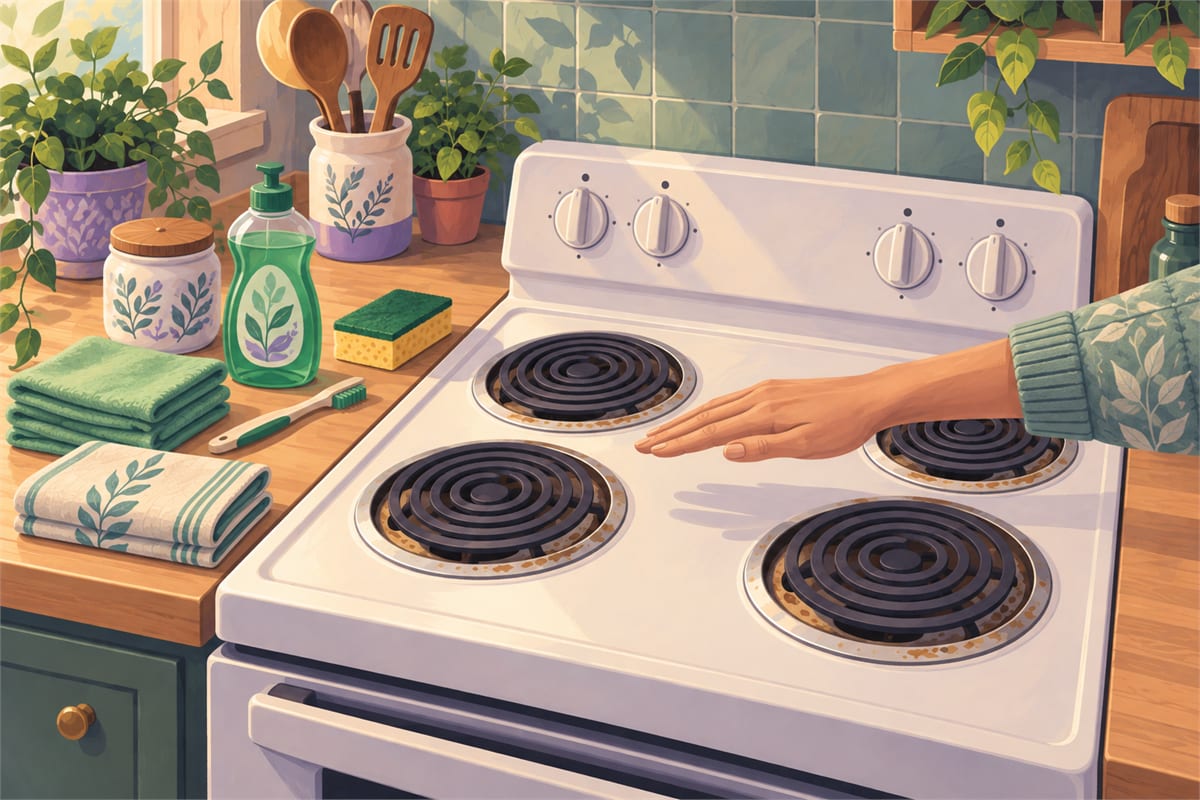
Check that every knob points to off. Then give the coils time. They stay hot long after the red glow fades, so wait about 20 to 30 minutes after cooking, until you can hold your hand just above them and feel no heat.
While you wait, set out what you'll use: dish soap, baking soda, a soft sponge, an old toothbrush, a couple of soft cloths, and a dry towel for the parts. Skip steel wool and scouring pads. You won't need them.
It also helps to find your stove's manual, or look up the model online. Some coil stoves have a top that lifts up on a hinge. You'll want to know if yours does.
Layer one: the coils
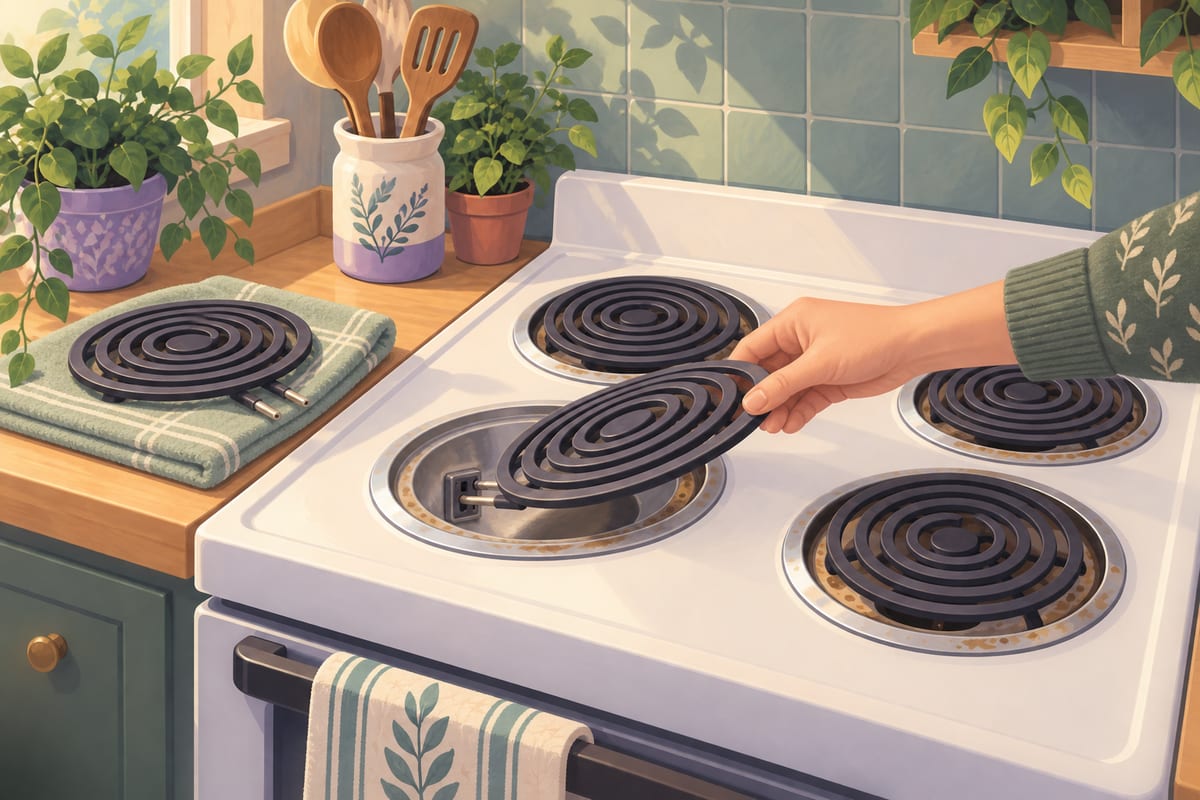
Each coil has a short, straight end that plugs into a socket at the edge of the burner. Lift the far side of the coil about an inch, then slide it straight out of the socket. No twisting. Lay it on your towel.
This is a good moment to look each coil over. Run your eyes along the whole ring. A crack, a bend, or a bubbled spot means that coil is worn out. The same goes for any coil that has ever sparked. Set it aside to replace instead of cleaning it.
To clean a coil, wipe it with a soapy cloth that's damp, not dripping. Most of the grime burns off on its own when you cook, so a wipe is often enough. If something is crusted on, mix baking soda with a few drops of water into a paste, smear it on the spot, and give it 10 minutes before wiping it away.
The one rule: a coil never goes in water. The plug end is where electricity enters the coil. Water there can ruin the coil or give you a shock later. Hold that end up and away from your cloth.
Layer two: the drip pans
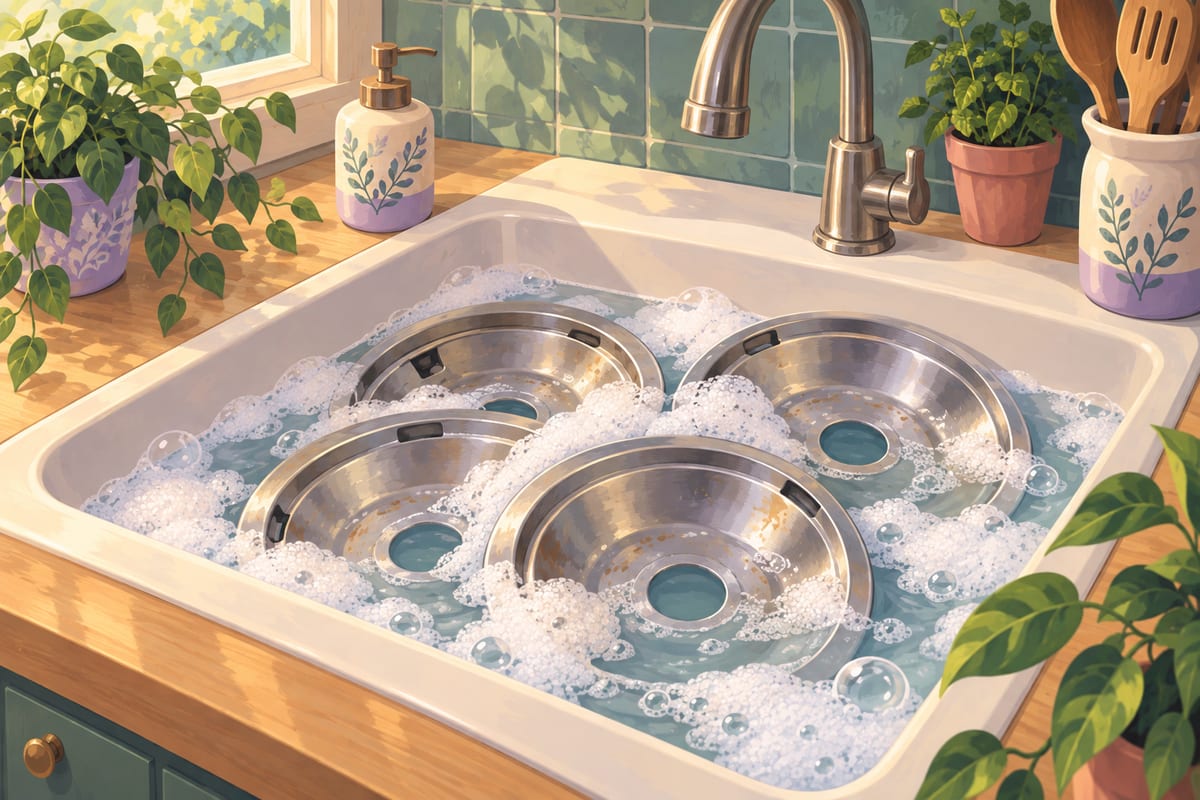
The drip pans are where that smell comes from. Lift them out and look. You'll probably see dark rings, dried drips, and a few crumbs.
Fill the sink with hot water and a good squeeze of dish soap, and slide the pans in. Leave them for 15 minutes. Go work on the next layer while they soak.
When you come back, most of the loose grime will wipe off with a soft sponge. For burnt rings that stay put, spread on a thick layer of baking soda paste and wait 15 minutes. Then scrub with the toothbrush. Really stubborn spots can take one more round: paste, a light spray of white vinegar, and 30 minutes of fizzing and sitting before you scrub again.
Sometimes a pan is past saving. If it's rusted through, warped, or rocks when you set it down, replace it. Drip pans are cheap. Most stoves use a small 6-inch size and a large 8-inch size, but measure yours or check your model number before you buy.
One more thing: don't line drip pans with foil unless your manual says it's okay. Foil can trap heat and damage the burner.
Layer three: the stove top, and what's under it
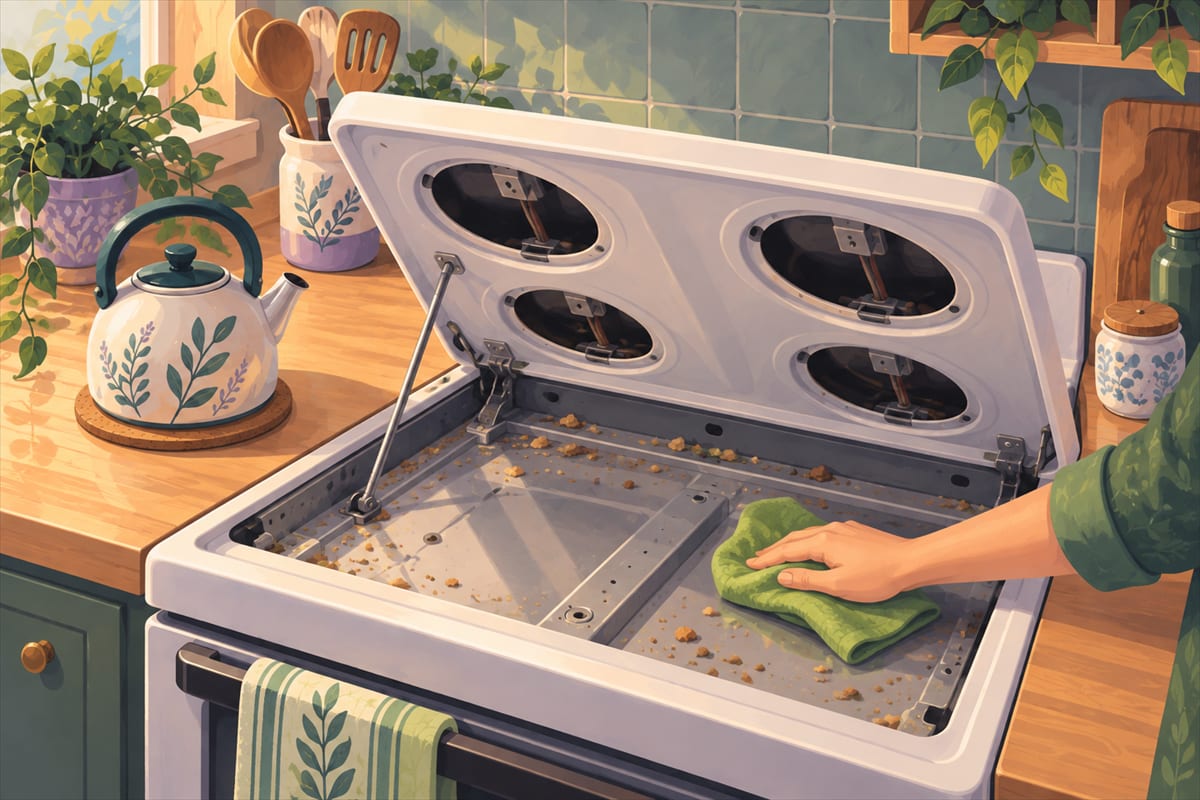
With the coils and pans out, you can finally see the whole surface. Brush the crumbs into your hand or a trash can. Then wipe the top with a warm, soapy cloth, wrung out well. Go around the burner openings, but keep water out of the coil sockets.
Now check your manual. On many coil stoves, the whole top lifts up from the front, a bit like the hood of a car. Some have a small rod to hold it open. If yours does, raise it gently. You may find a layer of crumbs and old drips that slipped through the burner openings. Wipe them out with your damp, soapy cloth, dry the area, and lower the top slowly.
If your manual says the top doesn't lift, don't force it. Just clean what you can reach.
Putting it back together
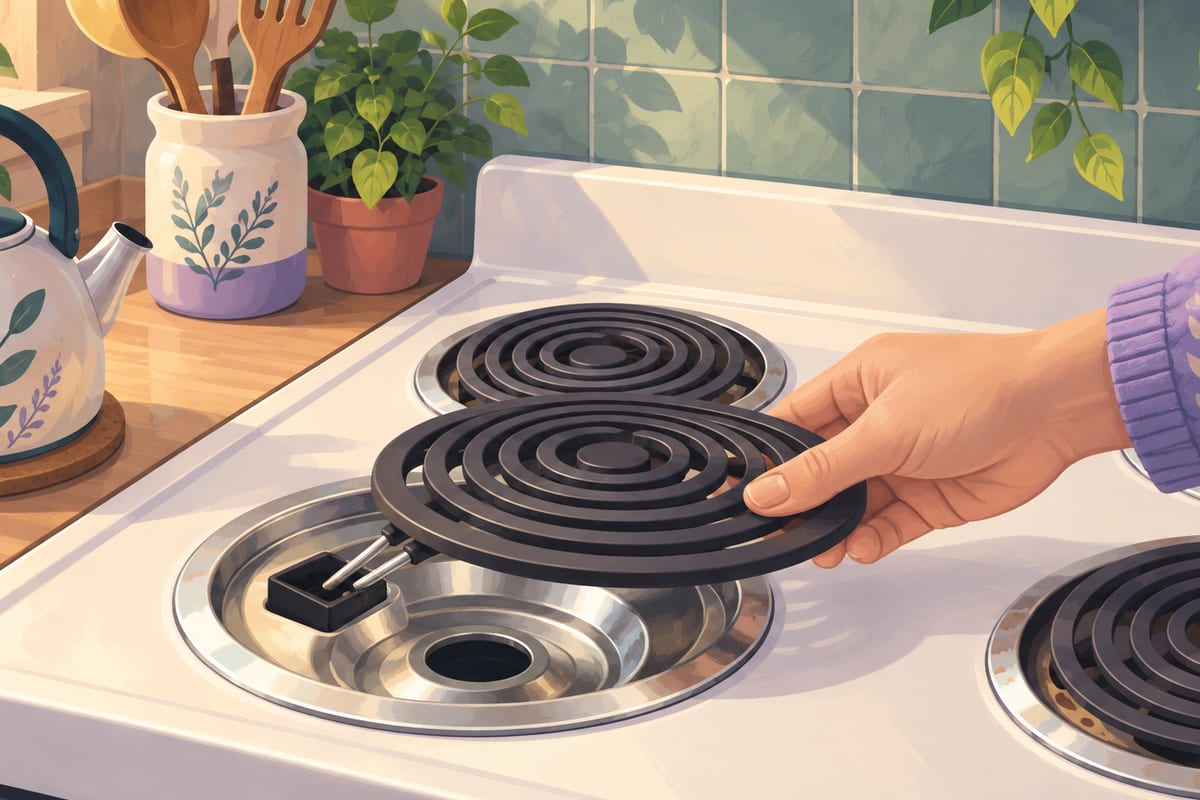
Rinse the drip pans and dry them with a towel. Wipe the stove top dry too. Nothing goes back until it's completely dry, because water and electrical parts don't mix.
Set each pan into its opening so it sits flat. Then line up each coil's plug end with its socket and push it straight in, firmly, until the coil rests level on the pan. A coil that's only halfway in may wobble or not heat at all.
Last, give every burner a short test. Open a window or turn on the fan first. Turn each burner to high for 1 to 2 minutes, then off. You may see a little smoke or notice a smell. That's just soap residue burning off, and it fades fast. If a coil sparks or stays cold, turn it off, let it cool, and push it in again. If it still won't work, it needs replacing.
What can get wet, part by part
Most mistakes on a coil stove come from water in the wrong place. Keep this handy.
Part by part
- Coil: damp cloth only, never soak it. Soapy cloth, baking soda paste for crusted spots. Keep the plug end dry.
- Drip pan: yes, it can soak. Hot, soapy water for 15 minutes, then sponge and toothbrush.
- Stove top: damp cloth only. Warm, soapy cloth, wrung out well. Keep water out of the coil sockets.
- Under the lift-up top: damp cloth only. Wipe out crumbs and drips, then dry before lowering.
A few more things to keep you safe:
- Only clean a stove that is off and cool.
- Replace any coil that is cracked, bent, or has sparked.
- Push each coil in straight. Forcing it in at an angle can damage the socket.
When you only have a few minutes
You don't have to take the whole stove apart every time. Once the coils are cool, pick the one burner that smells the worst. Pull out just that drip pan, wash it in the sink, dry it, and put it back. One clean pan is one less burnt smell tomorrow.
For the full layer-by-layer clean, every 1 to 2 weeks works for most kitchens. Cook a lot? Do it sooner. Cook a little? Wait until you notice the smell.
The takeaway
That burnt smell is your stove telling you where the mess is hiding. You don't need to scrub harder to fix it. You just need to take the stove apart, one layer at a time, and care for each piece on its own.
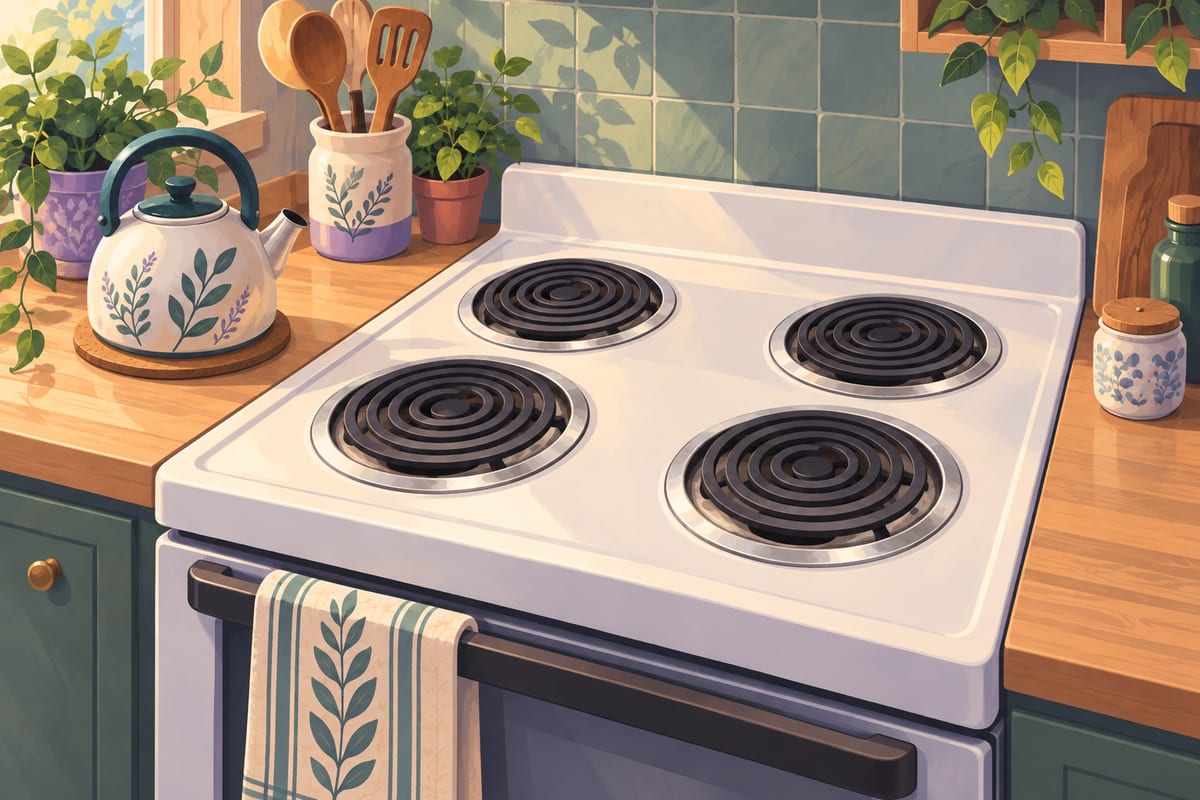
Top to bottom, one layer at a time.